Rules are simple Follow the Hostess (spot 1 & 2) Mom's of all Trades & Chase's View and then add your link. If you are feeling super friendly (we hope you are!) give a whistle to as many other blogs on the list as you can. Also if you are a newbie to this hop please leave us a comment so we can check you out! Also we would love for you to grab a button and spread the word! Thanks for Whistling with us!
Tuesday, March 15, 2011
Whistling Wednesday Blog Hop
Rules are simple Follow the Hostess (spot 1 & 2) Mom's of all Trades & Chase's View and then add your link. If you are feeling super friendly (we hope you are!) give a whistle to as many other blogs on the list as you can. Also if you are a newbie to this hop please leave us a comment so we can check you out! Also we would love for you to grab a button and spread the word! Thanks for Whistling with us!
Take 5 & Failures
Every Sunday at the Husband’s work they have a barbeque and each bring an item. I volunteered a desert as I have said many times I CANT cook. Well after this recipe I am double checking my ability to bake!
I searched the internet for a Take 5 recipe and read a lot of reviews, I found one and got excited and went to work. I dreamed of how amazing these would be as the melted in my mouth like my favorite candy bar. Well after leaving them in the fridge like the recipe this is what I got…FAIL! It was gooey and never set up, they were super tasty but oh so messy. I even gave it an additional hour and still messy. So a light bulb went off and I thought I will just whip them into some cupcakes and have a sweet little inside surprise (keep in mind this is 9 o’clock at night. I whipped up some cupcakes with a tasty little treat inside.
They came out and I quickly cooled them and decorated them with some super fun Sprinkled marshmallows. Have you tried this? Just cut marshmallows and then dip them in sprinkles. Make sure to dip your scissors in water after each cut that way they don't gum up.
Well I packed them up (with out tasting them) and left them so proud that the Husband would have a fun treat for work in the morning.
Well the next morning I couldn't resist and tried one…NASTY! Seriously it tasted like a bacon chocolate cupcake. I feel horrible that I sent them to work but the guys ate them. I must redeem myself and find me a good recipe!
So after this EPIC FAILURE, Take 5 (pun intended!) and tomorrow I promise I will have a new and tasty recipe for some good old Take 5 bars.
~Enjoy, Kori
Sunday, March 13, 2011
Kids Art Shirt
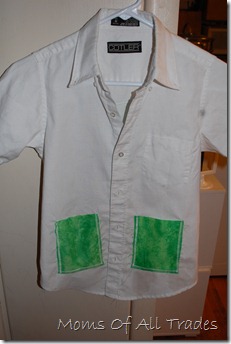
I had bought some material a long time ago so i just used that. I know this shirt is going to be covered in paint and markers and glue so i didn't want to spend a lot.
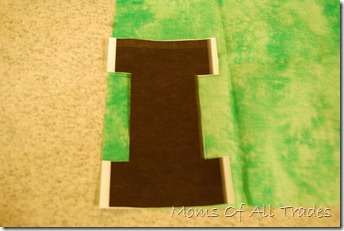
I just printed an “I” on a piece of paper and used that as a guide
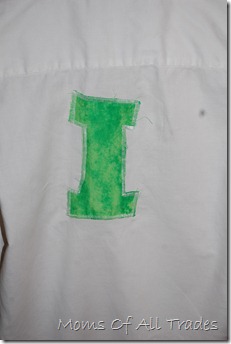
I just laid the material on the outside and sewed around the edges. It looks rough and like a 3 year old sewed it but hey it works and it will look so cute on my little guy.
I hope my sons shirt that took me a total of what 5 min to make gives you some good ideas on what NOT to do. I would love to hear how you would decorate an art shirt. Maybe give me some better ideas for the next one!
-Tara
Friday, March 11, 2011
♣ Pinch Proof ♣
Have you noticed the fun bleach t-shirts that are out in blogger land? Well I have and I have been Dying to try them! So with the up coming pinching holiday in store, Miss A needed a Pinch Proof ensemble! Of course I had to add a little clover too, just to spice it up!
Items Needed:
- Bleach Pen ( The dollar store even has them!)
- T- Shirt
- Fabric
- Wonder Under
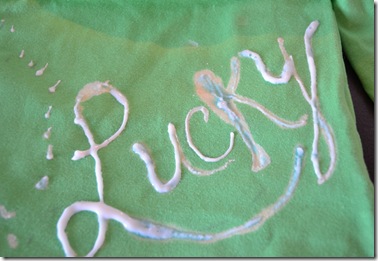
To start out you will want to write on your shirt with your bleach pen, I choose lucky in hopes that Miss A could wear it for more then just St. Patty’s Day. I also was thinking “Pinch Proof” and “Pinch me, I double dare you” were fun to! I grabbed a washable marker and wrote out Lucky on my shirt so I could draw over it with the bleach pen.As you can see the K got a little too much bleach, beginner mistake!While your Bleach is taking action work on your wonder under clover. Simply iron on the wonder under to the back of your material (if you haven't ever used it, you will love it!).
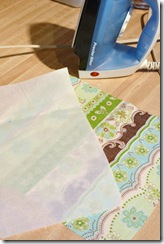
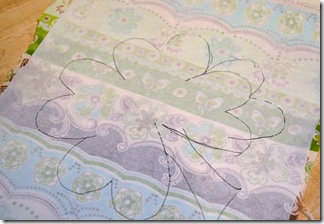
Then draw your pattern on and cut out!
Once you are done with the wonder under go wash out your bleach. I washed my shirt after this also and when it comes out of the dryer it is time to finish up! Simply iron on your clover on and you can stitch around it (I have heard you don't have to but I like extra insurance!).
Then sit back and enjoy your completely custom new “Lucky” Shirt!
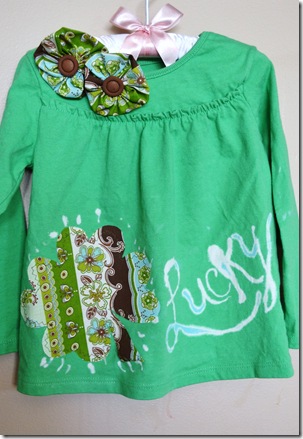
I also couldn't resist and had to make a few hair clips to add to the pig tails!
For future bleach shirts I will make sure it all goes on even and stays on the same amount of time. I have some more fun things in store with these, your gonna have to stick around and see!!
~Enjoy, Kori
Come Join us, we are linking to these great Parties
Wednesday, March 9, 2011
Blog Hop #4
Each week we will choose one blog at random to spotlight at the next week's blog hop.
Our first guest host is Melanie from Creative Art & Design:
Have some fun reading new blogs and and making new blog friends. Remember to show some love and follow new blogs. We always follow back!!