Monday, June 6, 2011
Quick Travel first aid kit
Tuesday, May 10, 2011
I Dig Dino’s
Thursday, April 21, 2011
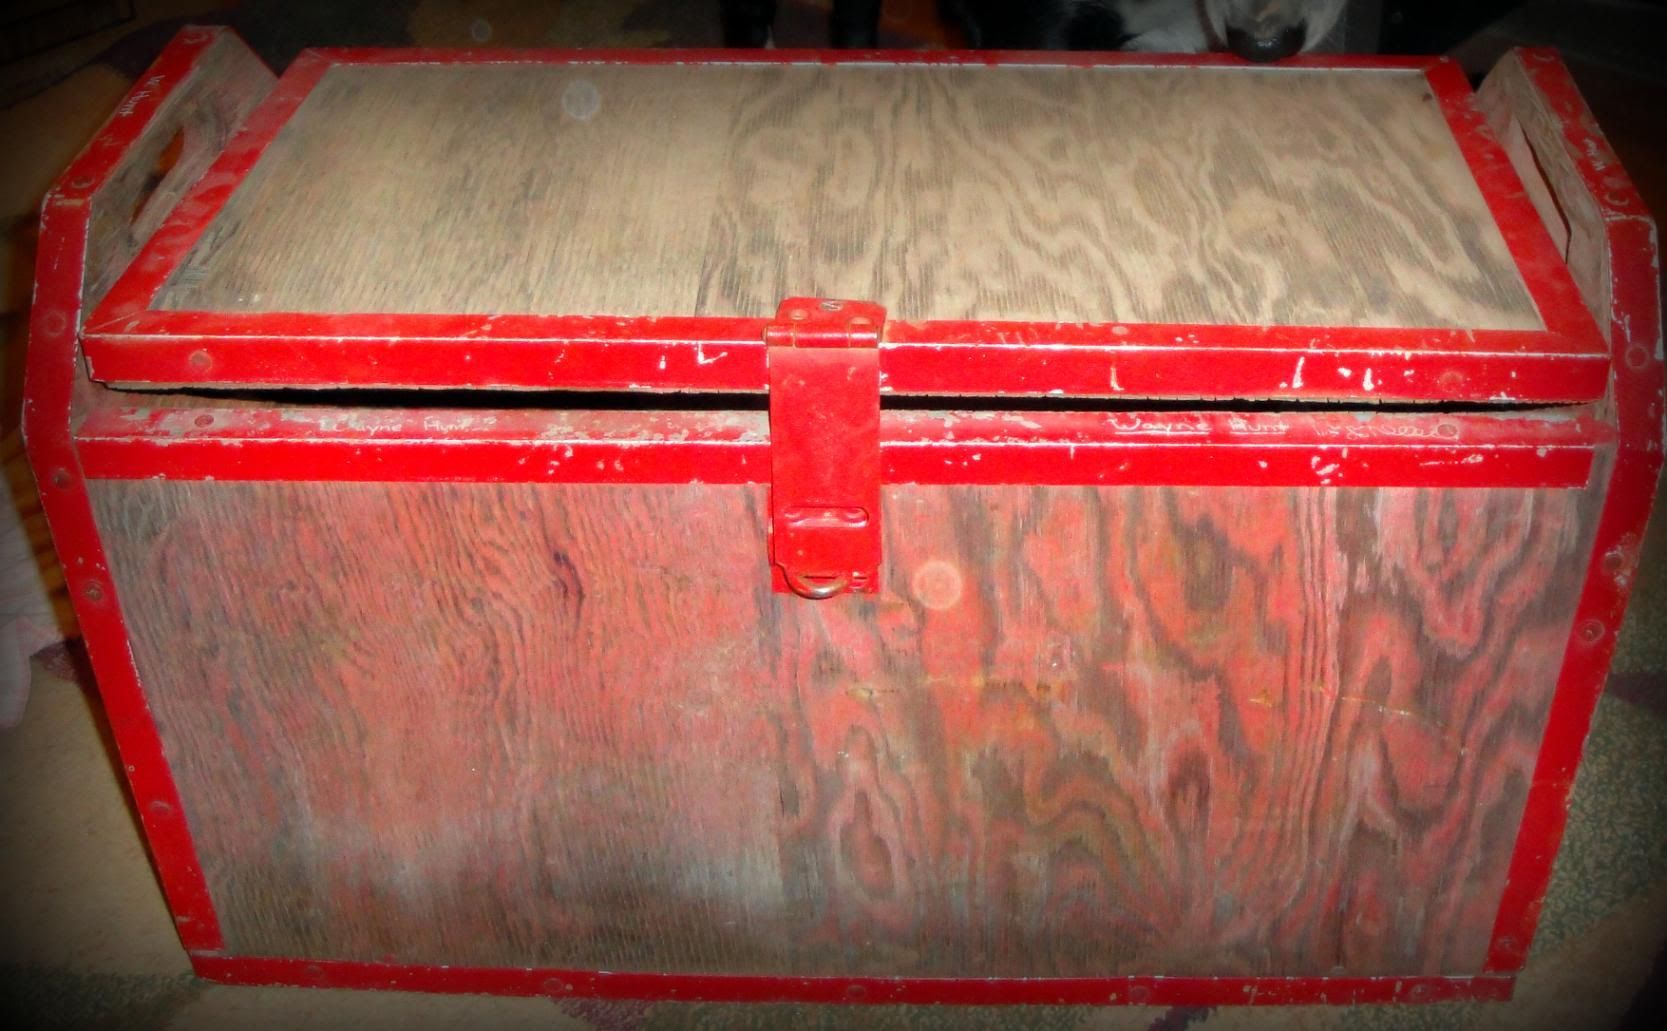
From Tools 2 Toys

Friday, April 8, 2011
Paper Tweets
Kori is moving on to week 2 on One Month To Win It!
She made a fun mirror out of Jenga blocks and its adorable. I am so proud of her!!!
Well next i have a new quick and easy project i made and i love it already. With my husband and I working off schedules we only get to see each other a lil bit in between work and during lunch. We only get to tell each other quick stories about our days and then we get to enjoy the weekend where we have so much to tell each other we forget a lot of stuff that's happened throughout the week. Well i had a notebook i saved all of Isaac's new words he has been saying and our personal blog helps him see what we do during the week but we still forget things. I even write on the bathroom mirrors with a dry erase but there are still some things i cant remember.

As i was looking for a gift for my nephews birthday i came across the cutest thing. Paper Tweets! I don't have a twitter account but the idea was so cute and a perfect way to share what goes on while each of us are gone.
If you haven't entered our drawing you really should. I have the digital studio software and i use it all the time. I don't scrapbook much but i use it for everything else. Anyways i threw this together really quickly using that software since they have some of the cutest fonts. I made this up pretty quickly cause i had so much to write down. My son was being a goof and i wanted to write them all down asap. I made each "tweet sheet" half a page since most of the notes we leave around the house are that size.
I wrote name and location and at the bottom i added the time and day. I like to know the day i even write the day on any picture my son draws so he can know when he did them. Anyways on to the cover
I used some plain gray card stock for the back and overlapped in the front and then added some cute scrapbook paper to the front. it was all scraps so i didn't waste any paper.
I need to write something on the front but I'm stumped on what it should say. Any suggestions?
My son found some cookies I had saved for my husband and insisted on having one. He looked at me with those big blue eyes and i couldn't resist.
I had this sitting on my counter and when my husband got home I heard him laughing in the other room as he read it. It made my whole day!
I think I might make a tiny one that I can throw in my back pocket for while I'm on the go. How would you change it? I would love to hear your ideas!
P.S. Thanks for all the ideas on the grocery cards. I have the cards done now I just need to print them out!
Monday, April 4, 2011
Rock Shoe Mat
As we were building our house i was looking on the internet for ideas on how to decorate it. I came across a shoe mat where they used these tiny rocks. Where my husband comes home with dirty and muddy shoes on a regular basis i wanted to make something like that but it a little more durable by using bigger rocks. Wanna see how i made this?
When i saw the mat with the small rocks they used a bought plastic shoe mat and i thought i have tons of left over wood from our house so I grabbed a scrap piece of wood that i saved and for the rest of the supplies i bought 5 bags of rocks at the dollar store and some silicone from the hardware store.
I painted and then arranged the rocks on the plywood.
Then i started gluing on the rocks. I used a clear silicone sealant but you can use anything you have around the house. I thought about using my glue gun but it has disappeared during the move.
I started gluing each rock then i went the easy way out and put glue all over the board. Both ways worked good and where i used the silicone sealant it stayed soft and i was able to move the rocks around if i didnt like they way it looked. The more random the rocks the better it looks.
I had some left over silicone so i filled in some of the spaces on the one corner to see which way my husband would like better. If he likes it i will do the rest if not i will just pull it off and add new rocks.
I love it! I love it even more that i used a free piece of plywood, $5.00 worth of river rocks and a $5.00 silicone tube and was able to make a $10.00 mat that is cute, durable and a perfect addition to my bare house. So what do you think of my rock shoe mat?
-Tara
Sunday, March 20, 2011
Center Stage
~Enjoy, Kori
Monday, February 28, 2011
Find Me~ Address Sign
Hopefully this works, I might have to order some dinner to test it out tonight ;)
~Kori
Friday, February 25, 2011
Homemade Canvas
Canvas art is huge right now. If you have gone to the craft stores you will know that a blank canvas is quite expensive. I wanted to make a few things with them but i just couldn't get myself to spend that much on something so simple. My husband said he would help me make our own. I have a cute project i want to do with a canvas so i thought i would show you how my husband and i saved money and make our own.
I bought a 1x2 inch wood slat from the hardware store for $1.50
I cut them in 2’ strips and since i don’t have the tools to cut it at a 45 degree angle i just squared them up.
I used a staple gun to hold the wood together. I stapled them on the front and sides.
I wanted a smooth material that is a little heavier so i used a white “blackout” material. The last time i bought this i got like 4 yards but this time Kori was at the fabric store and saw a scrap piece and grabbed it for me. Even though i only used half of what she bought i still paid $5 so its a little more but It is so worth it if you plan to paint or draw on it. I laid out the material and made sure i had enough to fold over on each side. I did Iron out the material before i stapled it down. This is the last chance you will get.
I have tried the corners a few different ways and this is my favorite it requires no cutting and has clean folds. I just hold the top and the side at the same time and bring them over to the top to staple them together.
There is only 2 small creases but you should only see 1 when its hanging on the wall.
Well this is my finished 2’x2’ blank canvas. I bought 1 more wood slat and made 2 and spent just over $8
Stay tuned cause i have a fun project planned for this canvas.
-Tara